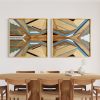
We have been creating wood mosaics for such a long time now that every step of the process flows, and we don’t really have to think about it much anymore. But when I decided to create wood mosaic workshops, I realised I had to think about what I was really doing, what are the detailed steps behind each stage and how do I explain them to my students?
This was an exercise in itself and it took me a while to put things in order and translate my processes into a workbook and tutorial videos. So, I thought it was a good idea to give you a basic step-by-step introduction to wood mosaic art.
If you would like to learn more and build your own wood mosaics, join my online workshops!
One of the most frequently asked questions is where we source our timber. There are so many places that you can get wood from. We use a lot of construction materials because they are affordable, the pieces are usually very straight and easy to work with, and often you can find cut-off pieces for free or very cheap at hardware stores.
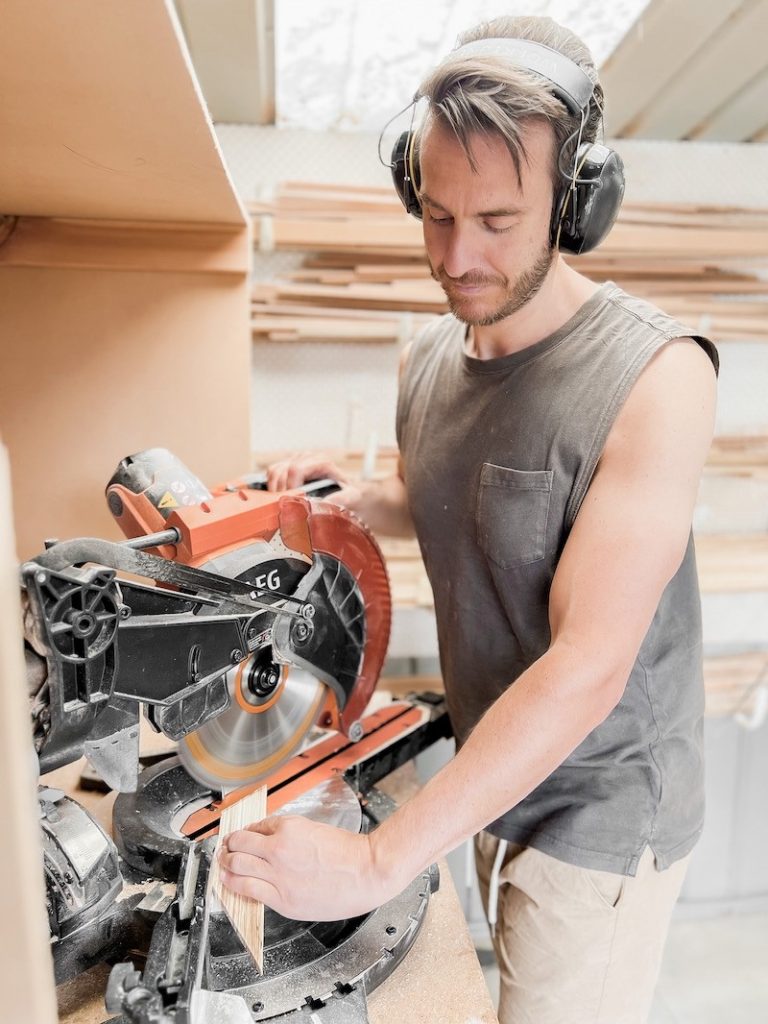
We also love recycling. Furniture, such as chairs or tables can be super handy because each element is square and straight and can easily be turned into the long flat pieces that we need for our wood mosaics. However, salvaging materials, and using construction timber means that you must use pretty heavy machinery to turn them into the pieces that you need. The table saw is probably one of our most important tools, and without one you will not be able to process the wood in a way that is needed for wood mosaic art or wooden wall artwork.

I teach in the Advanced Class how you can use the table saw to rip timber. But of course, I am aware that not everybody has access to a workshop or power tools, and not everybody knows how to operate them. Which is why I have designed the Beginner’s Class in a way that you can build a wooden mosaic without using any power tools at all. Instead of making the materials for your design yourself you can buy them in the correct shapes ready to use from the hardware store. In the Beginner’s Class I explain in detail what type of timber you can use and where to get it from.
I would always recommend using softwoods over hardwoods, simply because they are easier to work with, your artwork doesn’t end up being as heavy (softwoods are a lot lighter than hardwoods) and if you use machines softwoods are a lot gentler on your blades. Apart from that, you are completely free to use any type of timber you like.
Now let’s talk about the materials and equipment you need to build a wood mosaic. We already have our timber pieces, now we need a backing board. We usually use MDF or plywood, which is up to everyone’s preference. Just make sure your board isn’t any thinner than 12mm. You also need
Depending on whether you want to use power tools, you need a mitre saw for your angle cuts and a table saw to rip your timber. I am showing manual equivalents to this in the Beginner’s Class.
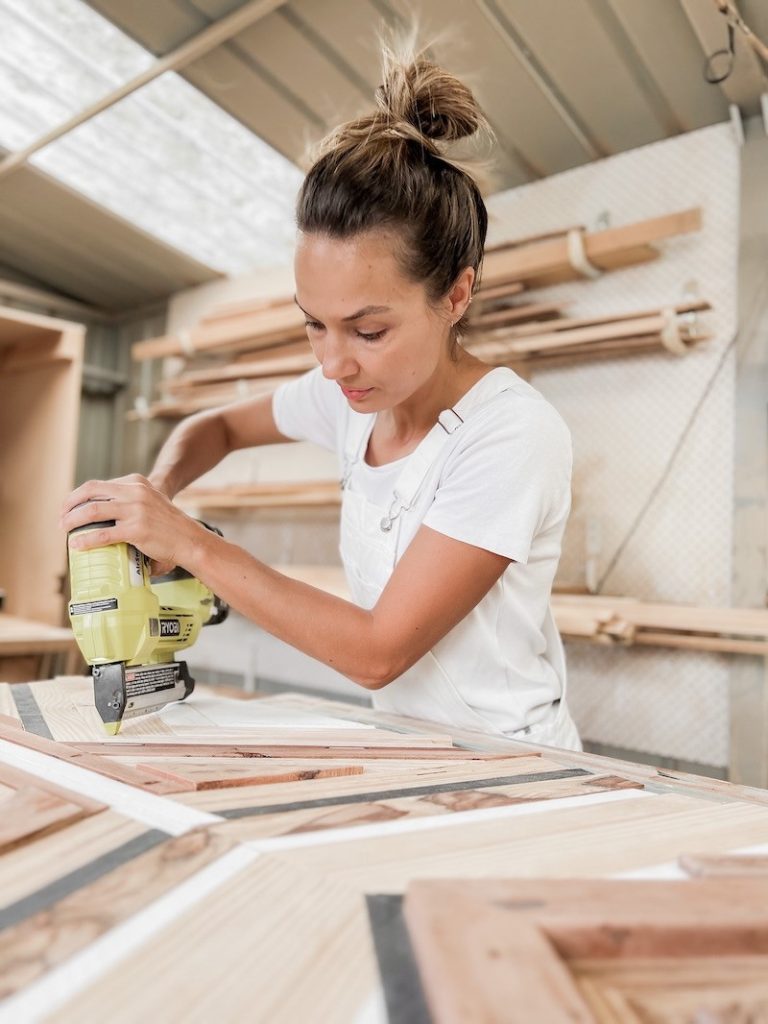
Smaller designs can be created without the use of nails, but for larger artworks, I recommend using a nail gun or brad nailer to secure your pieces to the board.
All of these materials can be purchased from any standard hardware store or online. Both my workshops include a shopping list so you can get your equipment in a one-stop shop.
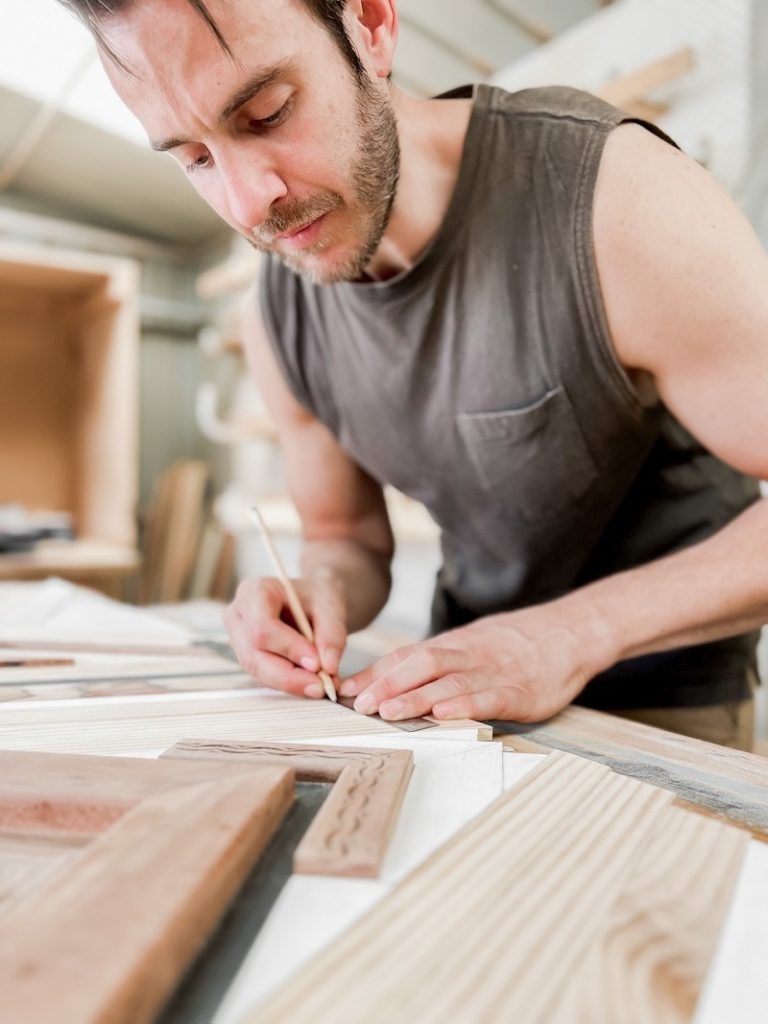
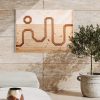
Another frequent question we get is whether we draw or sketch our designs before we create them. The simple answer is no. Sometimes we have a rough idea, or when we create commissioned work for customers we work based on a brief, but we never make precise drawings of the designs we build.
For us as artists, it is important to create in an organic flow rather than being bound to a pattern. Creating art this way allows us to change directions in the design, swap or change colours and palettes, and replace the types of timber we use. All that can happen during the building process. I guess that’s what you call the creative freedom, and this is the only way our patterns and puzzles can grow into the unique and intricate designs that have become so popular.
If you are a visual person and you need to have a ‘plan’ then you can absolutely draw your design before you start building. Use pencil and paper and a protractor to work out your angles and make sure that you draw to scale. There are a lot of graphic design programs that can be used as well, and I recommend one in the Beginner’s Class. However, we don’t use it and always go with the flow instead.
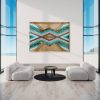
We found that adding a little bit of colour or accent pieces to our natural designs, can often really elevate the look of our artworks. It is really important to understand how colours work and how to best combine them with the timber use. In the advanced class, I go through a colour school module, where I explain basic colour theory and I also demonstrate different techniques to create beautiful surface effects on the wood.
If you are using only one type of timber, for example, pine, then you can use stains and varnishes to create a multi-timber effect. The sky is the limit here, the only recommendation that I have is to use water-based products as they are less toxic and much easier to clean. Nobody likes the mess of having to use methylated spirits or brush cleaners, it can get really messy and you often just end up throwing your brushes away.
When it comes to painting your timber you can use regular wall paint. But this is where you can also get creative and try on with things. You can use your kids’ watercolours and create cool, washed colour effects on your timber. Or you can use natural ingredients, such as turmeric powder or beetroot juice to stain your wood. You can even use felt pens to draw patterns on your timber and incorporate that into your design. Get creative and try new things, that’s how you always end up with the most beautiful and unique creations.
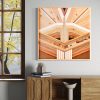
Let’s get to the fun (and difficult) part. Cutting your timber with a mitre saw is relatively easy, you need to make sure you work out your angles correctly and know how to operate a mitre saw. If you haven’t used one before, please be sure to get someone with experience to help you during the first few cuts. In the Beginner’s Class, I go through the steps of using manual hand tools which anyone can follow, even if you’ve never done anything woodworking-related before.
Now, like I said earlier, we go with the flow when building our mosaics. We usually start in the centre of the board and then work our way out. Since we have the machines to do the trim work at the end, we let our pieces hang over the edge of the board. If you don’t have the tools to trim your artwork, you just need to measure each piece to ensure it fits on your board and aligns with the edges.
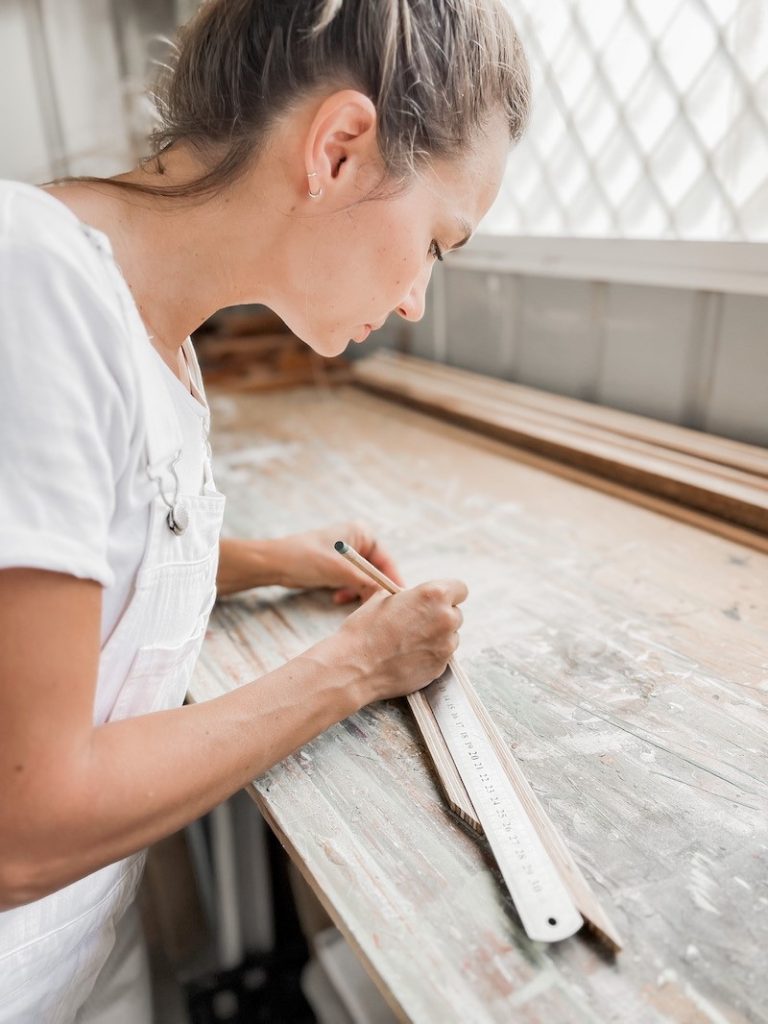
One rule of thumb is measure twice, cut once. The worst that can do is that you cut off too much and won’t be able to use your piece again, which is very wasteful. You can always catch a piece a little bit larger than you think and then trim it further down until it fits.
This process requires a lot of practice, and it has taken us years of trial and error to really understand how the angles work and how to operate our machines in a way that we get really accurate cuts. Don’t be discouraged if things don’t fit and match on the first go. Just keep trying and building and you will see how your designs will get better and better.
Depending on your design, you can either glue each individual piece down, or you can glue them down in sections. It is often easier to cut your pieces first, apply wood glue to one section, and put the pieces down in one go. For more complex patterns, you would usually apply each piece individually to make sure everything fits perfectly.
Apply a little bit of wood glue on the back of each piece and then use a lot of pressure to ensure it sits tight. Some pieces need to be secured with nails, however, shorter pieces that are nice and straight and not bending can just be applied with some pressure, and they won’t move once the glue has dried.
We sand every piece individually. This ensures that we get a neat look, and that our pattern looks clean and sharp. If you prefer a rough look, you can skip the sanding altogether. Just watch out for fine splinters, they can be nasty little buggers!
If you have the tools use a table saw to trim your artwork. This will give you a clean edge that allows you to apply your framing timber without issues. In the Beginner’s Class, we build a design that doesn’t need to be trimmed. Instead, we measure each piece to fit on the board. Instead of the table saw you could also trim your artwork with a circular saw or a trim router. However, the table saw has proven to be the most accurate tool for this step.

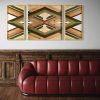
Framing your artwork is optional. I go through this process in the Advanced Class. We use wood glue and a nail gun to secure our framing timber to our artwork, it is a pretty straightforward process.
Let’s add the magic pop to our artwork! To make colours, grain and knots in the wood stand out we always apply a clear coat to our designs at the end. You can use wood wax, water-based wood, varnish or clear spray paint, whichever you prefer.
Any imperfections, little gaps scratches or chips in the paint can now be touched up.
To hang your artwork, I recommend using a simple wire solution. Attach two little screws to the back of your artwork and a wire between them. This is the best way to hang your artwork straight on the wall.
Unless your artwork is very large and heavy one screw with a plug is enough to safely hang your piece. If you have plasterboard walls, I recommend using drywall anchors to ensure your artwork does not fall off the wall.
That’s it! These are the basic steps we go through to build a wood mosaic artwork.
If you would like to dive deeper into the process and understand how each step is performed in detail, then visit our workshop page and join our Online Wood Art Workshops, we always offer bundle discounts if you would like to take both the Beginner’s and Advance Class to build your skills.
I have also created an exclusive Facebook group for our wood art students where questions can be asked in a like-minded community and of course, share their creations.
I hope I see you there!